
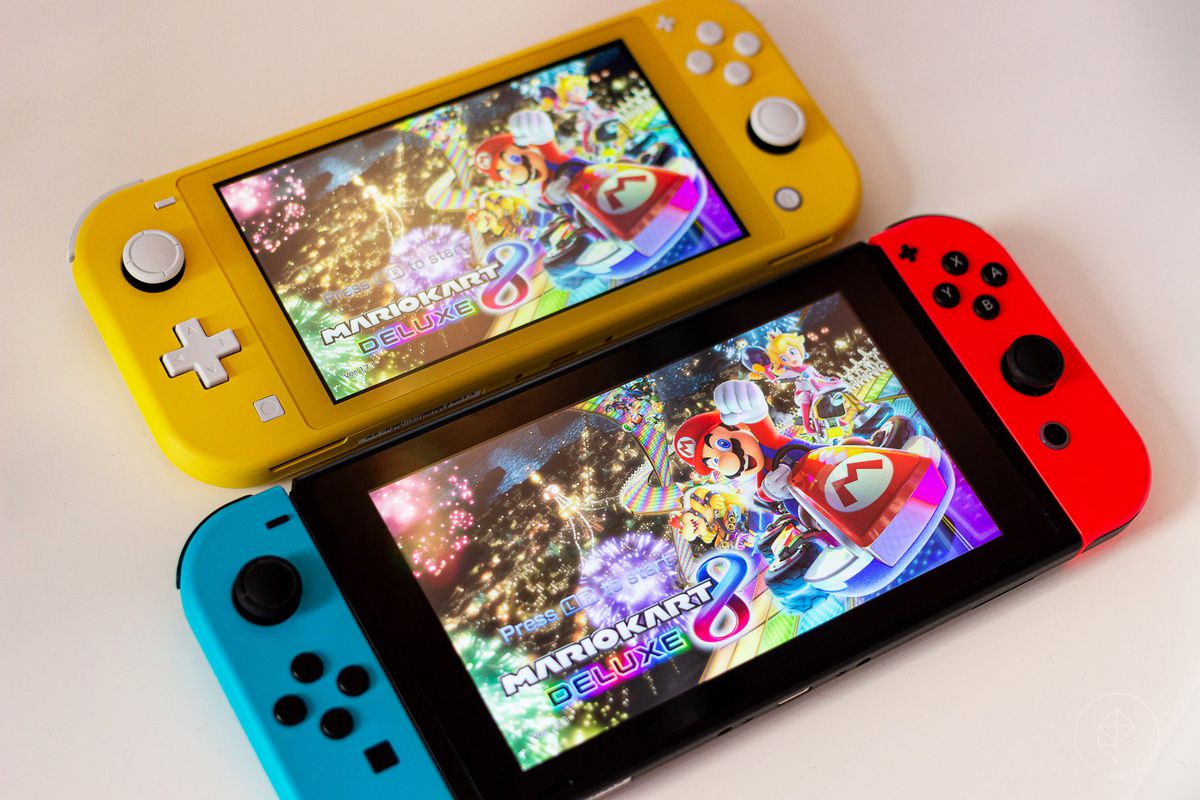
So you already have a good ole regular Switch, but damn, that Turquoise Switch Lite looks so clean… You’re thinking about pulling the trigger, but you’re unsure how to use a single Nintendo account across two Switches. Never fear! This guide will walk you through the mildly tedious process of using both a regular Switch and Switch Lite. (This guide will also work if you are interested in using two regular Switches at a time)
Step 1: Know the limitations
Unfortunately, when you use two Switches, you’ll need to use one as your Primary Switch and the other as the Secondary Switch. Your Primary Switch plays games as normal, however, your Secondary Switch will need to be connected to the internet to launch any of your games. That being said, we’d suggest making your regular Switch your Secondary and leaving in its dock at home, connected to the internet at all times; and making your Switch Lite your Primary, so you don’t need it constantly connected to the internet while on-the-go.
Side note: This only affects digital titles. You can easily switch (lol) game cartridges between Switches with no issues.
Step 2: Setting up a Primary and Secondary Switch
There are a few ways to make your new Switch Lite your Primary Switch:
Full System Transfer – this moves all save and game data to your new Switch and automatically makes the new Switch your primary. This will delete all the off your other Switch. We’d recommend only doing this if you only plan on using your Switch Lite.
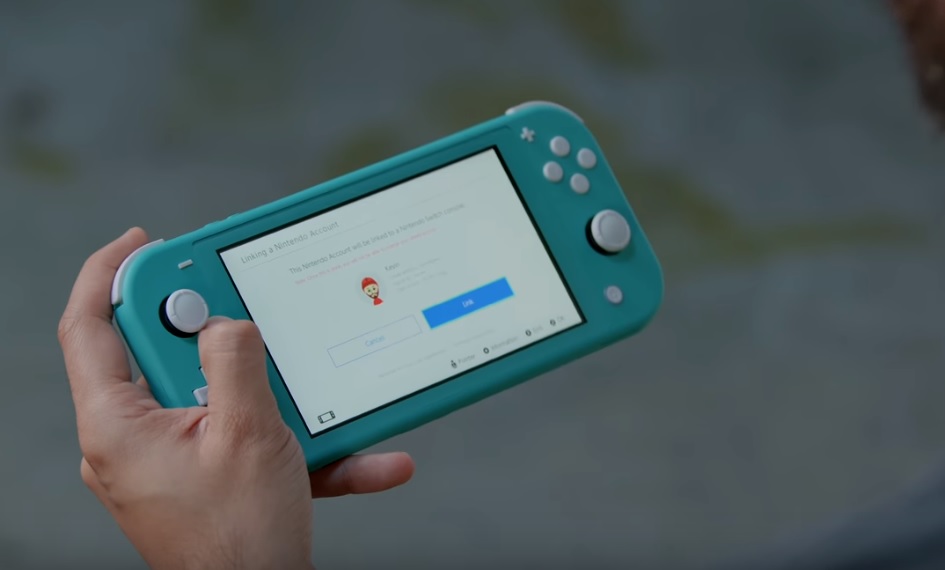
Nintendo Account Login – This is the recommended way to use two Switches at once. Start by booting up your Switch Lite and linking it to your Nintendo account. You’ll get a warning telling you that this will permanently lock this account to this Switch – that’s fine! Go ahead and proceed. The Switch will now be linked to your Nintendo Account, but it’s not considered the Primary Switch yet.
Step 3: Deregister your Old Switch

Next, you need to go to your old Switch and Deregister it. Go to the Eshop > reenter your password if needed > go to your profile picture on the top righthand side > go to the ‘Primary Console’ option. You’ll see a status that this is your Primary console with a ‘Deregister’ button underneath it. Click it, then select Deregister. Boom – your old console has been deregistered and is no longer your Primary Nintendo Switch device.
Step 4: Making the Switch Lite your new Primary Switch
Source: Nintendo
Making your Switch Lite your new Primary is super easy. Simply open up the Eshop. After deregistering your Primary Switch, the first Switch to connect to the Eshop will then become your Primary Switch. Easy peasy. You can re-navigate to the ‘Primary Console’ options in the Eshop Account Menu and confirm that it is your new Primary Switch.
Step 5: Get playing!
Now your Switch Lite is your Primary console and can play your digital games no problem. Your Secondary Switch is still able to play all your games (and access cloud saves depending on the title), but it will require a constant internet connection. Keep in mind, if you try to do something online simultaneously on both Switches (like try to play Super Smash Bros. Ultimate online), it will only grant access to your Primary Switch.
Need a video guide on this or accessing your cloud saves between Switches? Check out this fantastic guide by our friend and creator, Kevin Kenson!
Header image credit: arstechnica